
This article will cover how to add, remove, and rearrange the Social Media icons in both the In-Page Share Buttons and the Floated Share Buttons. The process is very similar, but the settings are found in slightly different locations depending on which app you're looking to edit.
WordPress Users: Floated Share Buttons are currently only configurable from the Shareaholic.com dashboard, so you will need to sign into your Shareaholic.com account to make changes to the Floated Share Buttons. If you haven't done so already, you can link your WordPress site to your Shareaholic.com account by following these instructions here.
Configuring In-Page Share Buttons

For WordPress Users:
1. From your WordPress Admin Dashboard, go to Shareaholic > App Manager

2. Find the location of the buttons you wish to edit and click on the green Customize button next to it.

3. This will bring up a pop up window with options for configuring your Share Buttons. Towards the bottom, you will see a preview of the Share Buttons, followed by a box containing all of our supported social media services, as well as a search bar.
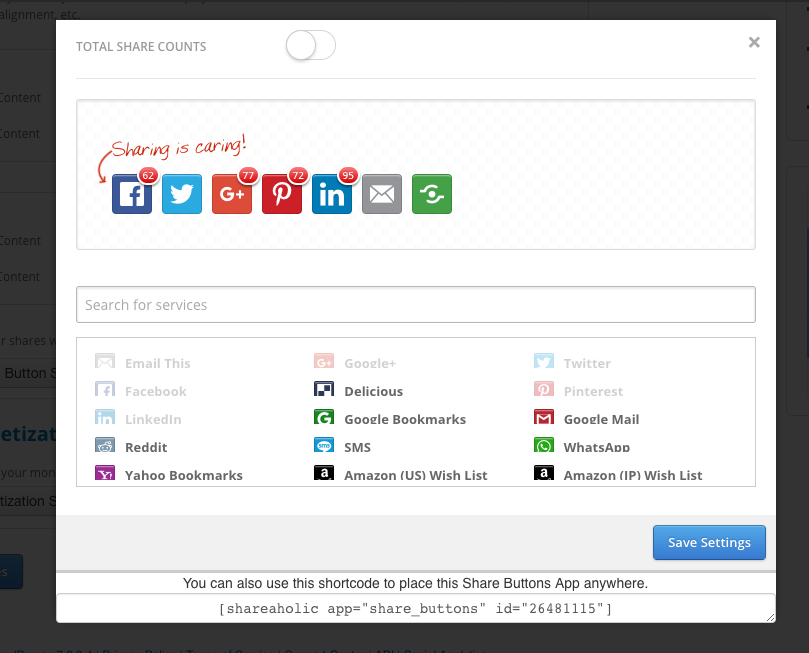
Go ahead and scroll down to the Configuration Instructions section just below the Other CMS' Users instructions for more detailed information on how to add, remove, or reorder your selected services.
For other CMS' Users:
1. Login to your Shareaholic.com account.
2. Select your site from the My Sites dropdown menu.
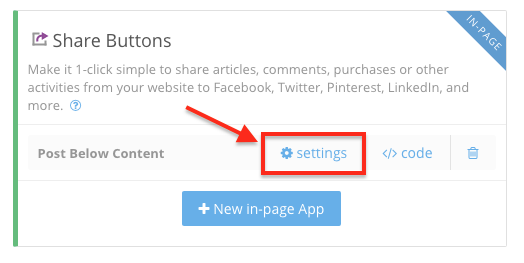
3. From the Apps page, scroll down to the Share Buttons box in the 'Social Settings' section and find the entry for the Share Buttons you wish to edit. Then, click on the settings button to access its settings.
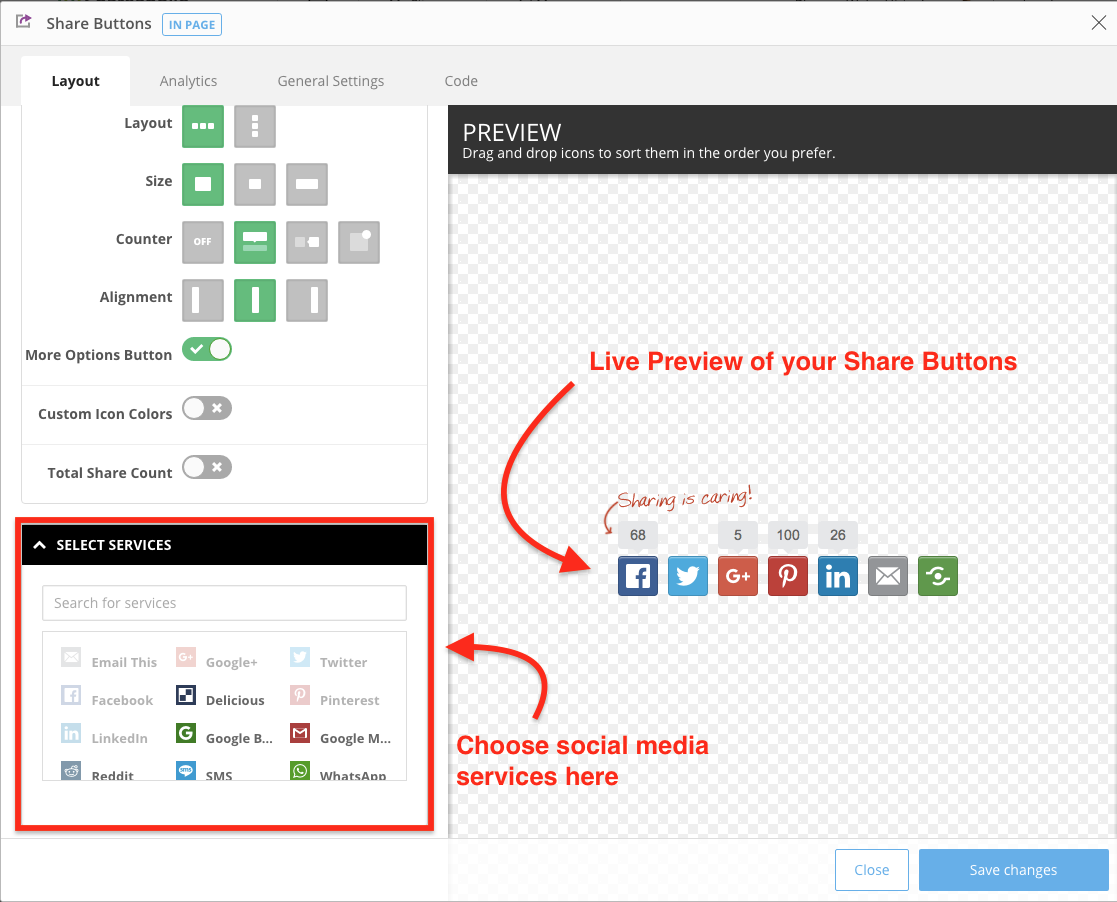
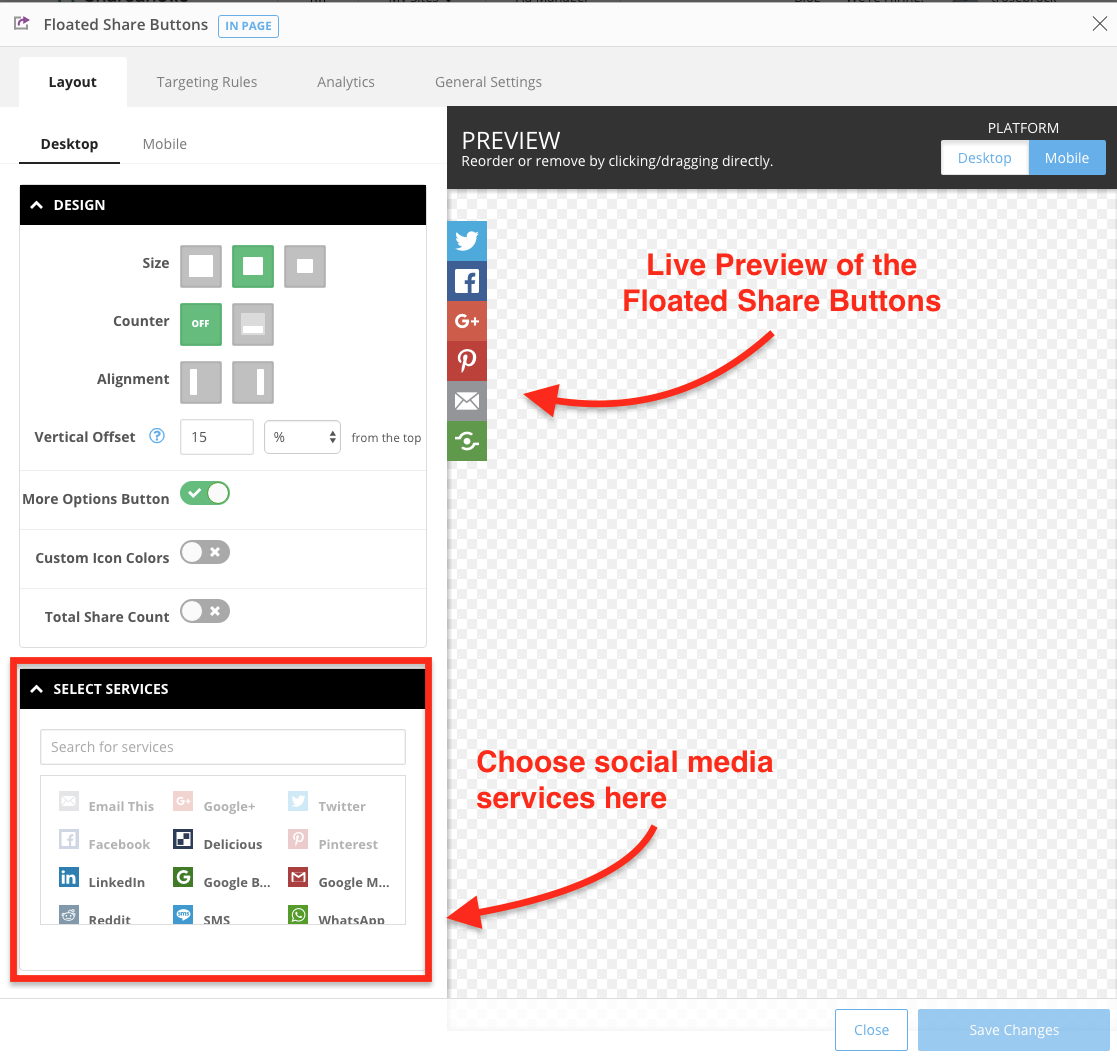
4. In the Layout Tab of the Share Button Settings window, you will see a number of options for configuring your Share Buttons. A preview of your Share Buttons can be seen on the right-hand side of the window, and the Select Services section will be towards the bottom of the window.
Configuration Instructions:
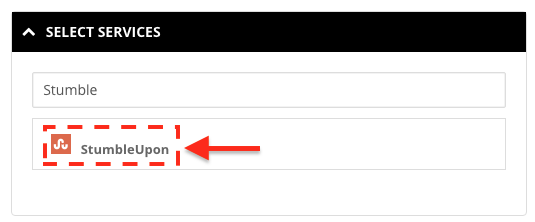
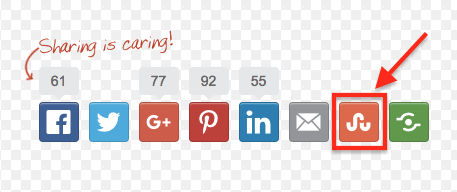
To add a service, simply search for your desired service using the 'search for services' bar, and then select the service you wish to add. You should see it immediately appear in the Share Buttons preview.
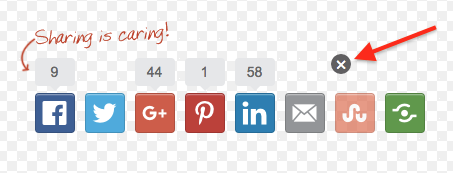
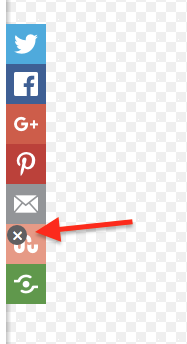
To remove a service, hover your mouse over the icon for the service you wish to delete in the Preview pane and click on the little black x in the upper left corner of the icon.
To change the order of the services, simply click and hold the icon for the desired icon in the Preview Pane and drag it into your desired location.
Be sure to click Save Settings when you're done making your changes!
Configuring Floated Share Buttons


The Floated Share Buttons appear by default on the left-hand side of your page, and across the bottom of the page for mobile users.
1. Login to your Shareaholic.com account.
2. Select your site from the My Sites dropdown menu.
3.From the Apps page, scroll down to the Floated Share Buttons box in the 'Social Settings' section and find the entry for the Share Buttons you wish to edit. Then, click on the Configure button to access its settings

4. In the Layout tab, you will see a number of options for configuring your Floated Share Buttons. A preview of your Share Buttons can be seen on the right-hand side of the window, and the Select Services section will be towards the bottom of the window.
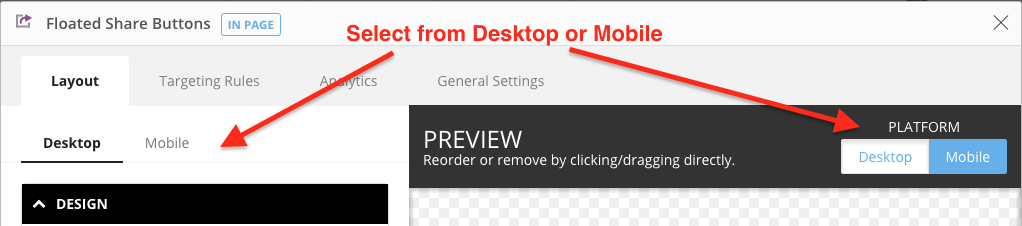
Important Note: Floated Share Buttons have separate configuration settings for both mobile and desktop views, and changes you make to one view will not carry over to the other. To edit the Floated Share Buttons for mobile, select Mobile from on either the right or left side of the page (seen below). The process for adding, deleting, or moving services is the same for both desktop and mobile, though they will likely appear slightly differently.
Configuration Instructions:
To add a service, simply search for your desired service using the 'search for services' bar, and then select the service you wish to add. You should see it immediately appear in the Share Buttons preview.

To remove a service, hover your mouse over the icon for the service you wish to delete and click on the little black x in the upper right corner of the icon.
To change the order of the services, simply click and hold the icon for the desired icon in the Preview pane and drag it into your desired location.
Be sure to click Save Settings when you're done making your changes!